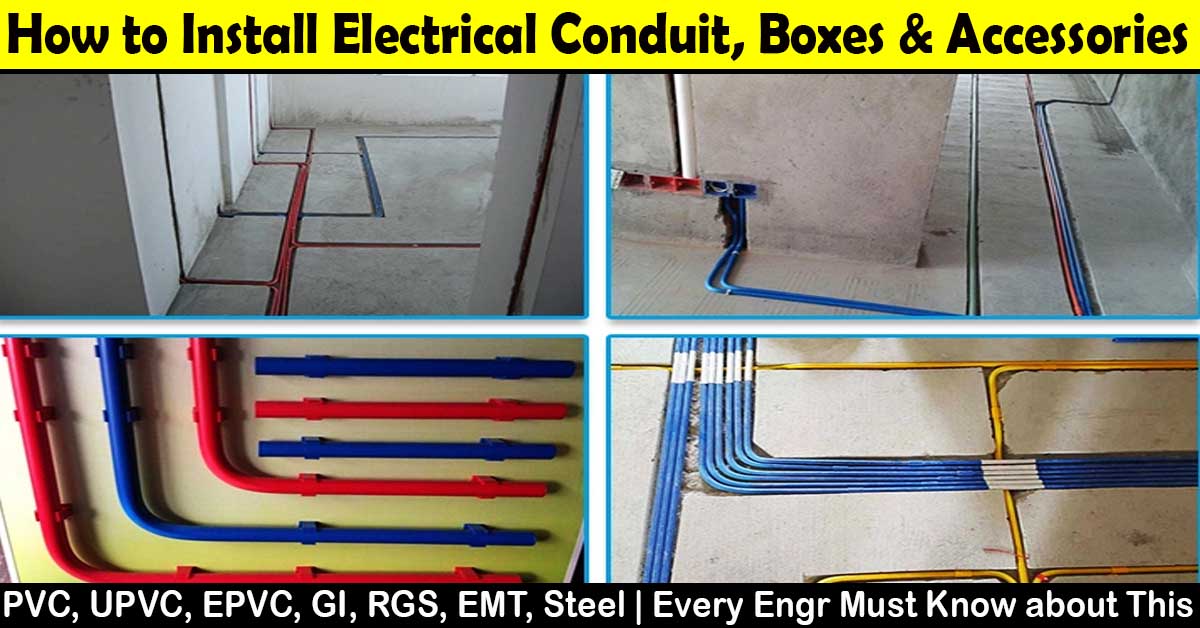
Cable Conduit Installation Work Procedure
This post helps everyone to learn about Installation of cable conduit work procedure. Let's see what are the diagram, tools and inspections needs to check cable conduit work.
The following drawings and documents needs for cable conduit installation work. they are
Working Drawings.
Singapore Standard CP5: 1988 (Code of practice for electrical installation)
Equipment and tools needs for cable conduit installation work
Concrete Drill.
Hand Tools.
Hand Drills.
Hacksaw.
Measuring Tape.
Fibre Cutter & Raw plugs.
Scaffolding.
Ladder.
Marker Pen.
The Following Pre work and safety measures should be done before starting the cable conduit installation work.
Work on Preparation
- Ensure that the site access and location are clear of debris and obstructions.
- All relevant positions or locations on the working drawings have been marked out for the installation to proceed.
Precautions for Safety
- Barricade all work areas related to the works if necessary.
- Wear Personal Protective Equipment (PPE) for your own safety.
- A proper ladder should be secured by a tight rope/wire, a proper roller clamp on a suitable hook, and all electrical tools and equipment should be earthed properly.
- While working at heights, proper scaffolding must be provided.
Cable conduit installation work procedure:
- 1. Refer to the working drawings and mark out the conduit saddle position on the working drawings.
- 2. Marked out the locations for the conduit saddle on the walls and ceilings.
- 3. Cut the conduit to the length needed. Smooth the sharp edges at both ends of the conduit with the conduit Reamer or a half round file.
- 4. Confirm the exact location of the conduit. Drill the necessary diameters into the walls and ceilings.
- 5. Ensure that all conduit saddles are spaced one metre apart.
- 6.Install the conduit box by inserting it into the threaded conduit. Monkey pliers are useful for tightening the conduit box.
- 7. Using the conduit bender, create a 90-degree bend. Off set to accommodate the site conditions.
- 8. Insert the raw plugs into the wall and ceiling drilled holes.
- 9. Use saddle and screw nuts to secure the G.I. conduit.
- 10. Use the second layer of final coat paint to touch up the edges, bending, and scratches on the conduit ends.
Tags:
Electrical Jobs
